Most of them are outdated, but provide historical design context.
They are not user documentation and should not be treated as such.
Documentation is available here.
Importing Libvirt KVM VMs to oVirt
Summary
This feature will allow KVM-based virtual machines (VMs) to be imported from Libvirt management via the oVirt Administration Portal.
Disk conversion is not required since both oVirt and Libvirt support KVM-based VMs.
You can import VMs with file and and block device disks. Snapshots are currently not supported. Note that if you want to import VMs with snapshots, it is the current snapshot that will be imported.
The import process is done via the utility kvm2ovirt that comes in the VDSM installation. It is located at /usr/libexec/vdsm/kvm2ovirt.
VM Requirements
-
The VMs that you want to import must be powered off.
-
It is expected that the VirtIO drivers are already installed in the VM. While this is usually already the case for Linux VMs, special care has to be taken for Windows VMs. VirtIO drivers should already be installed on the VM. Typically, this is the case for Linux VMs, but not necessarily for Windows VMs. The drivers are not installed as the VM is imported (as it is for VMware/Xen VMs imported using virt-v2v). If the drivers are missing, the VM will probably not be able to boot after it is imported. Alternatively, review the VM configuration after the import is completed, and make sure VirtIO devices are not used. Bear in mind that using emulated devices has performance penalties.
Libvirt Configuration
In order to import VMs from Libvirt, Libvirt needs to listen on a public port or be reachable over SSH.
You can read the relevant documentation on how to set up Libvirt for connections
over SSH,
over TCP, or
over TLS.
The URI for accessing Libvirt then depends on the method you have chosen.
For access over SSH, use qemu+ssh://username@host1.example.org/system, for TCP qemu+tcp://username@host1.example.org/system,
and for TLS connection, use qemu+tls://username@host1.example.org/system.
Importing a VM
Importing a VM is achieved by using the VM’s unique Libvirt name that can be identified via:
$ virsh -r -c 'qemu+tcp://username@host1.example.org/system' list --all
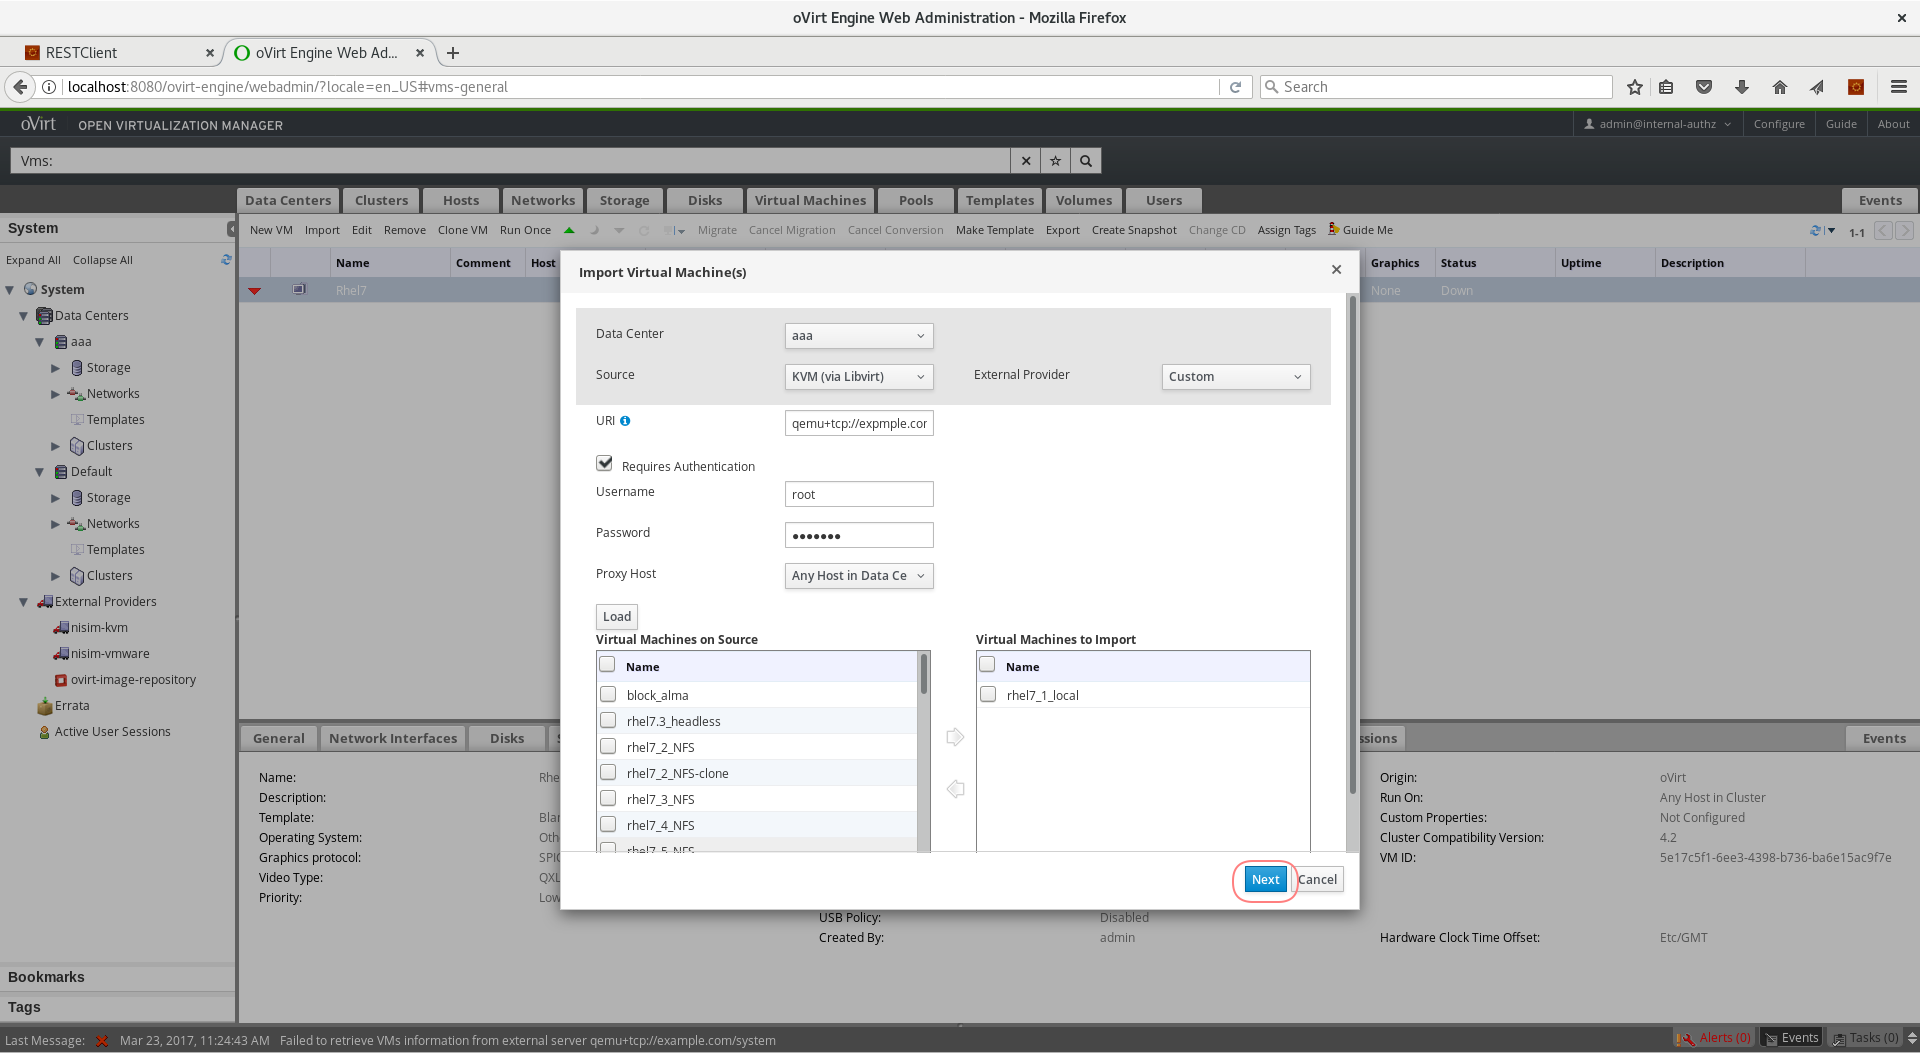
As an example, follow these steps to import a VM named rhel1_local from qemu+tcp://username@host1.example.org/system:
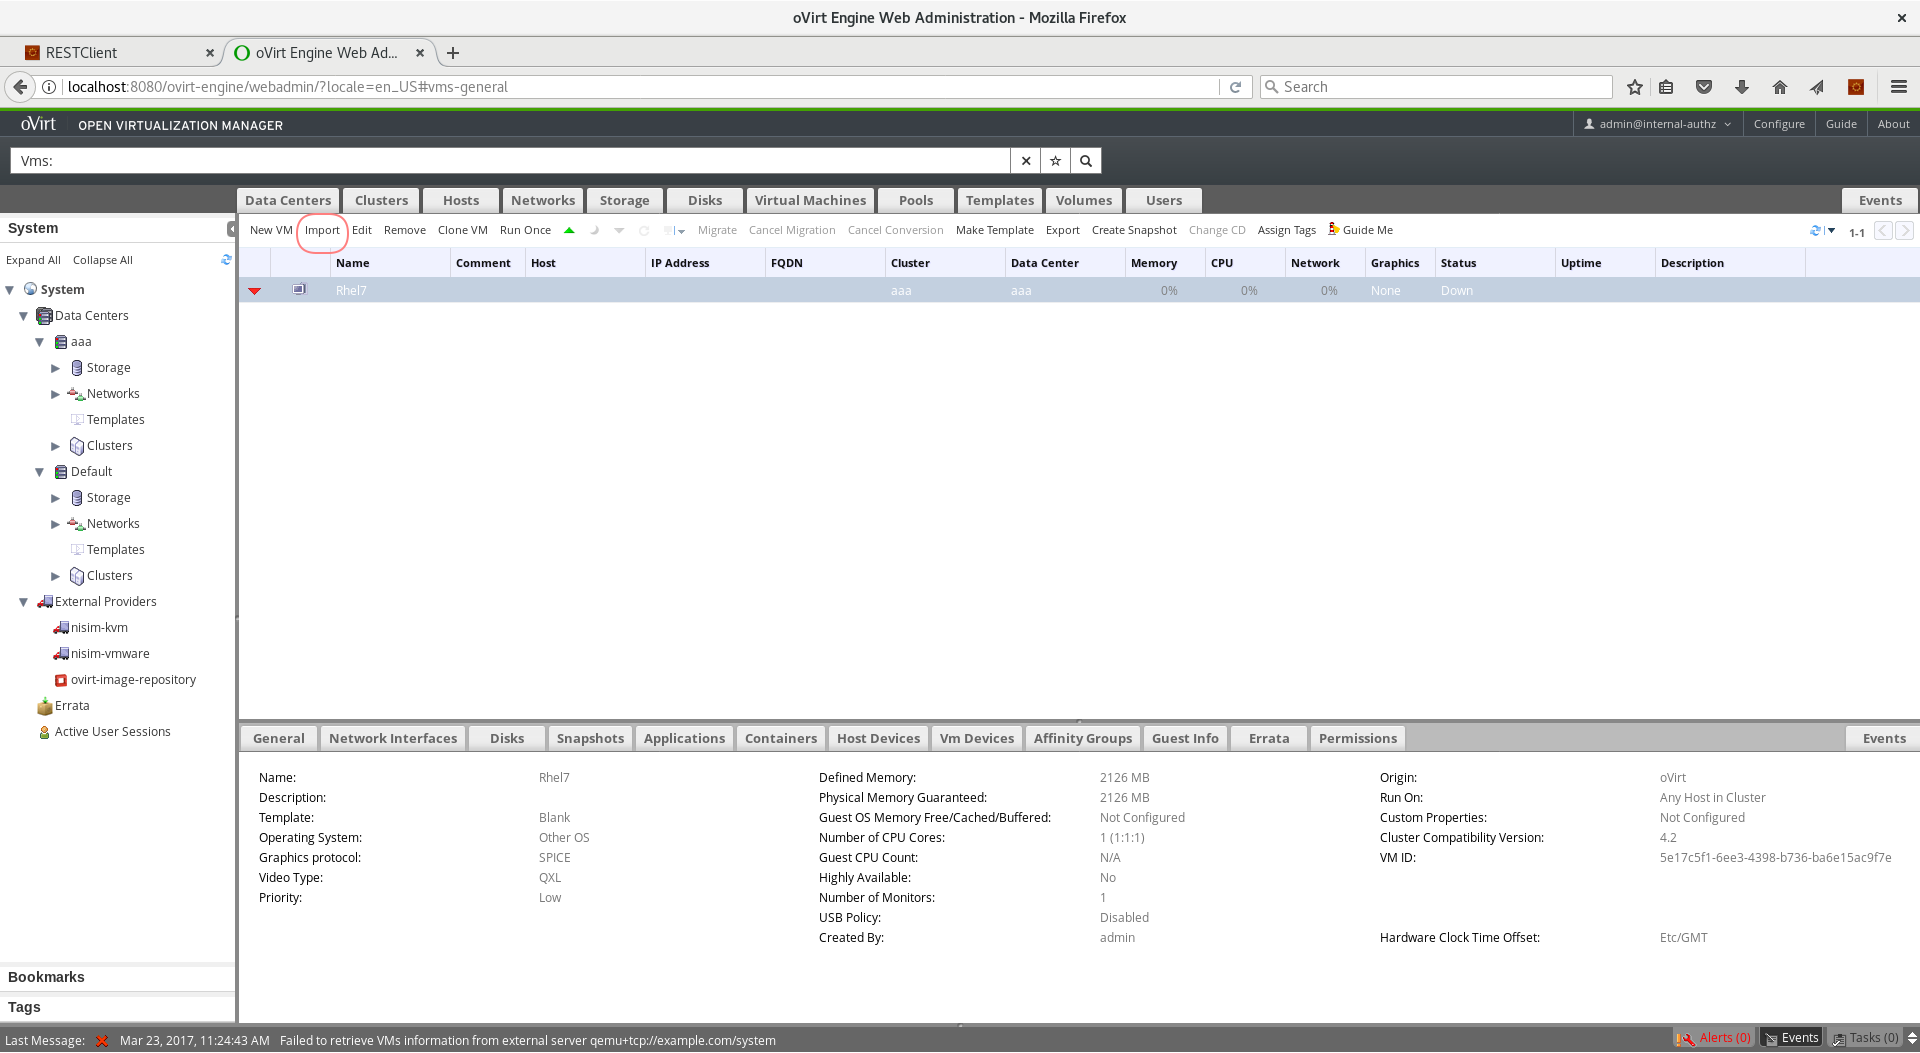
- Login to the Administration Portal and navigate to the Virtual Machines tab
- From the toolbar, press the Import button
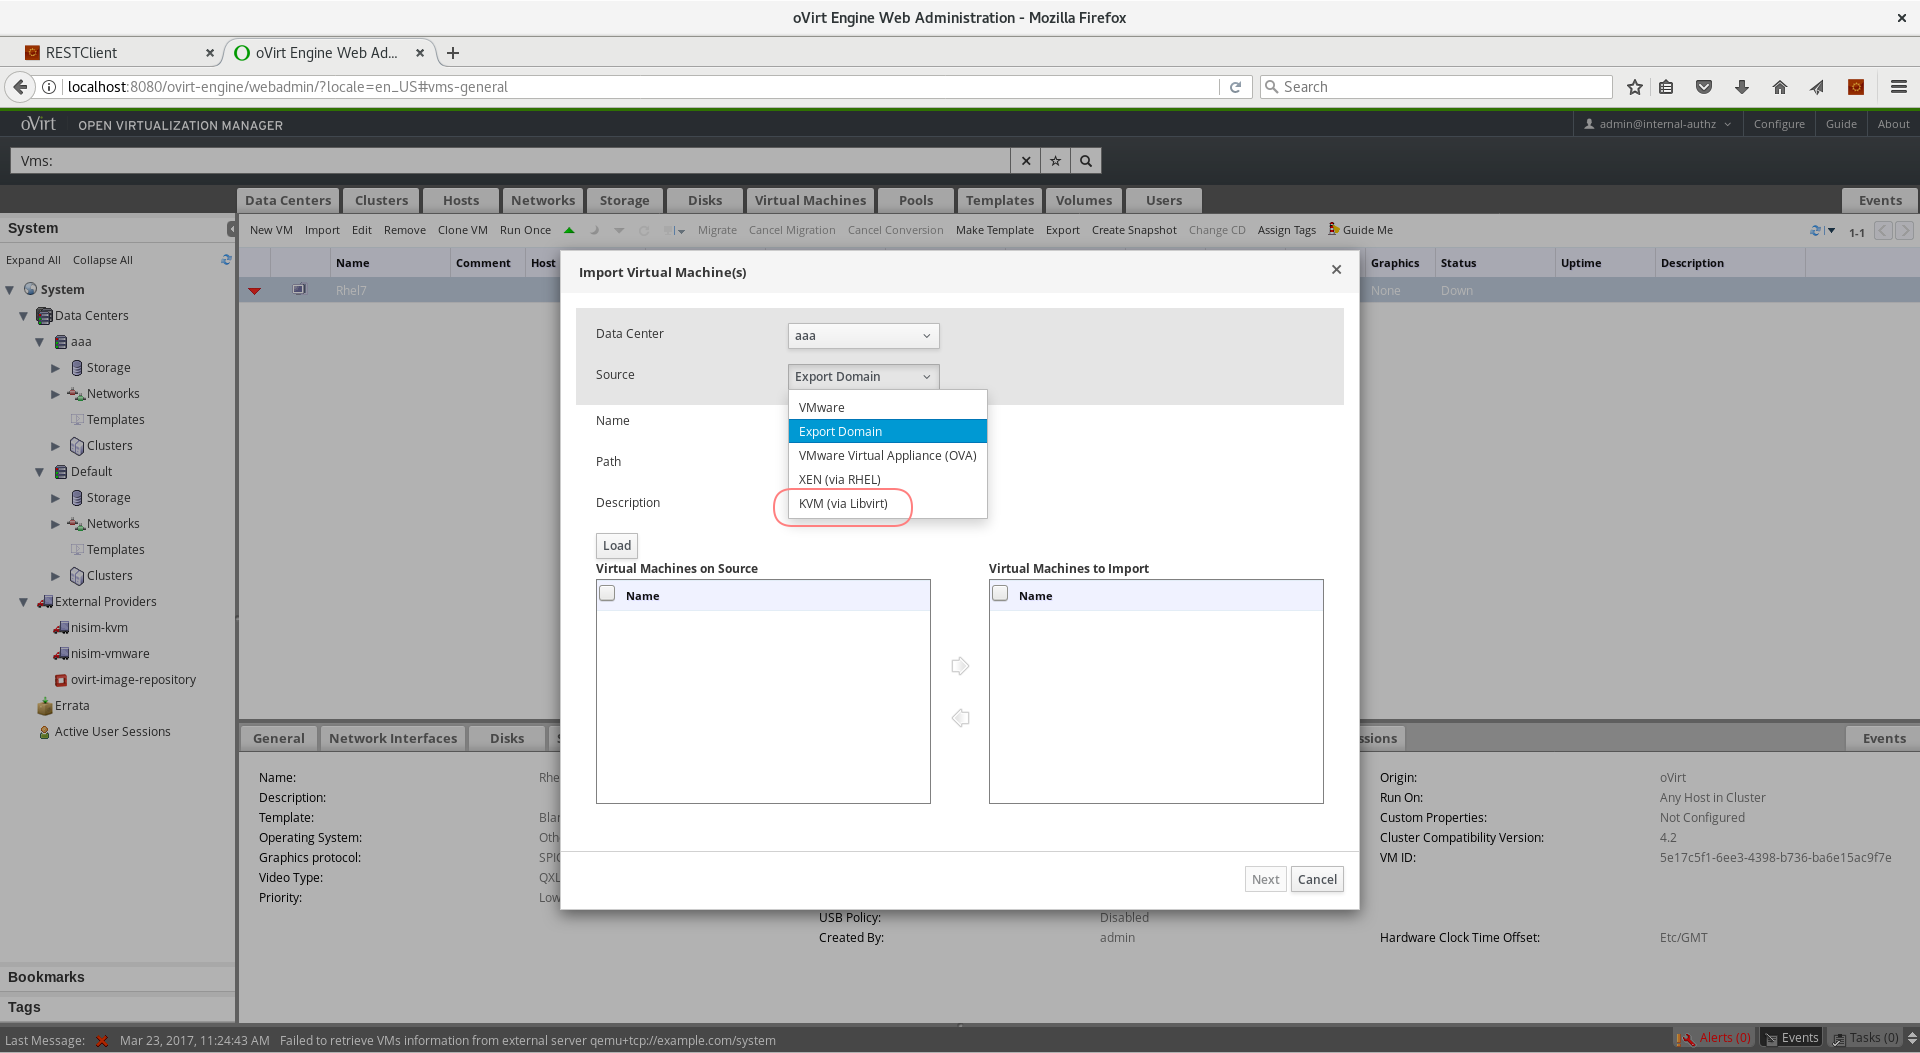
- From the Source box, select KVM (via libvirt) option
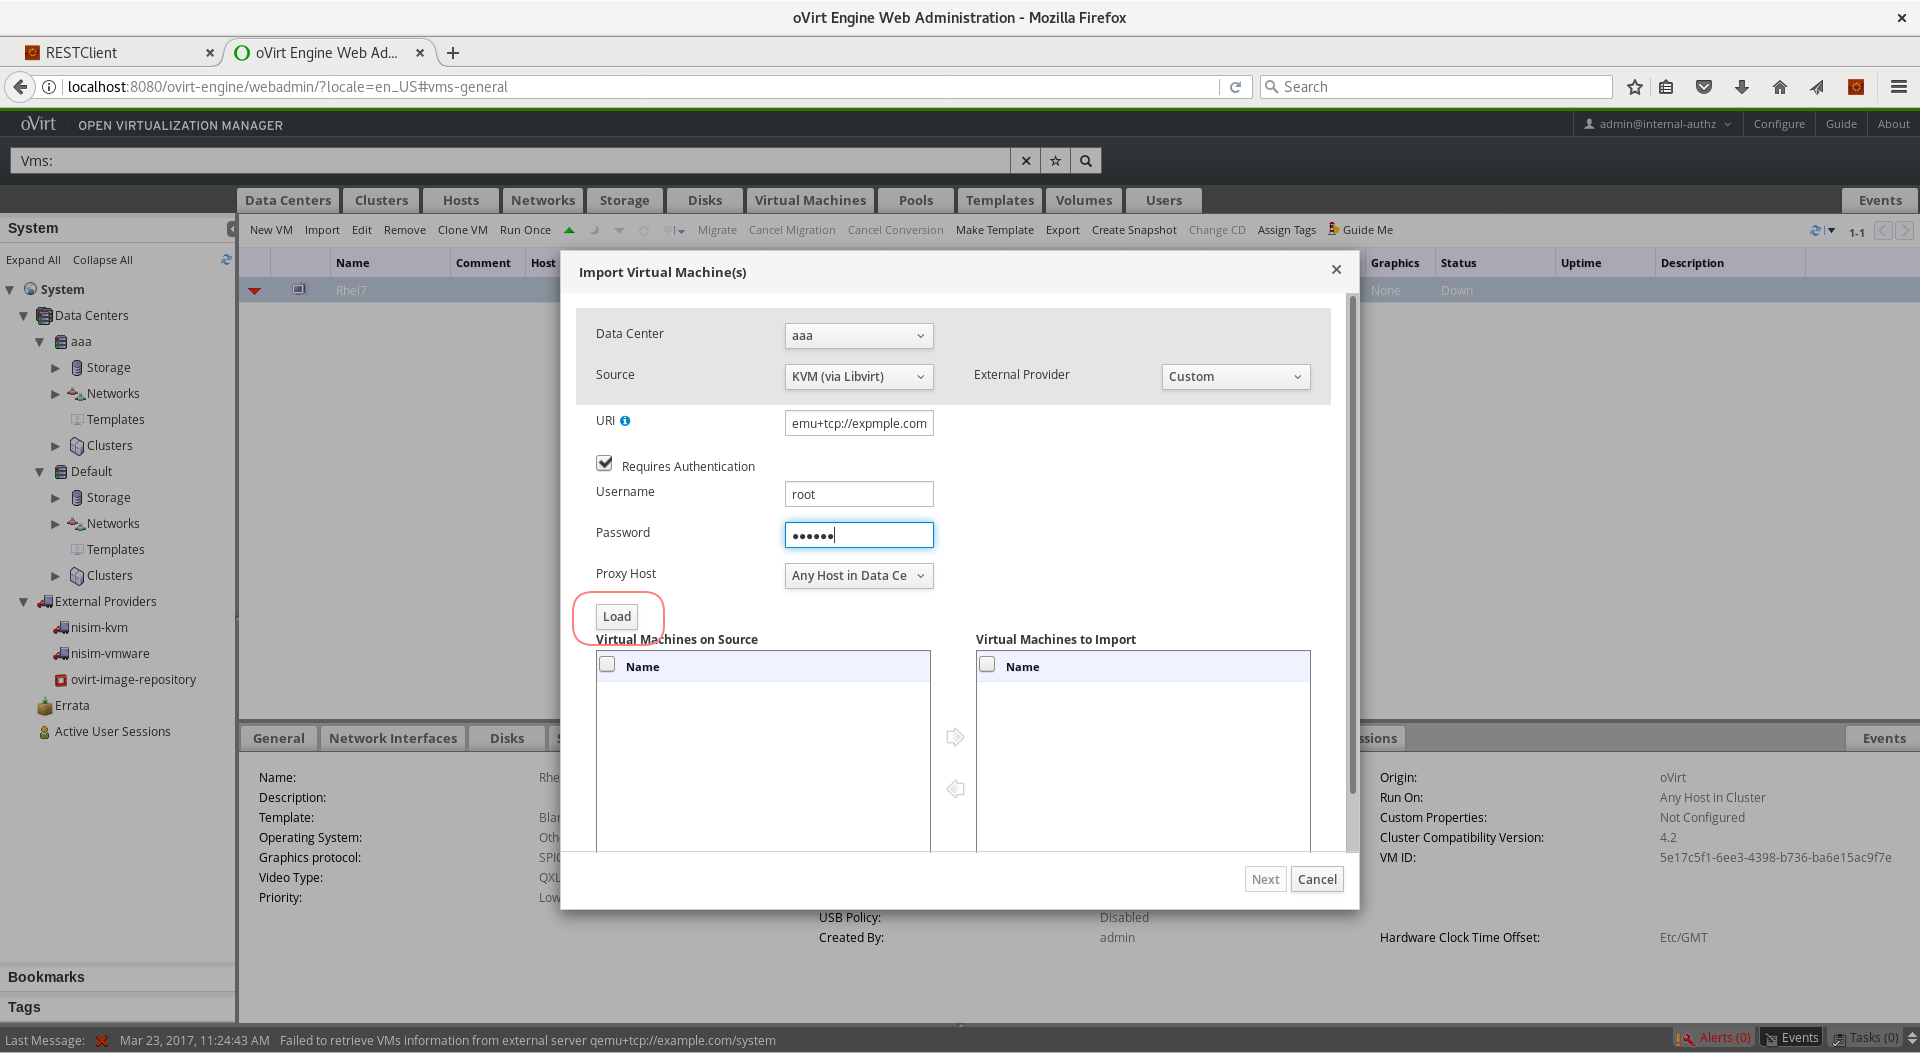
- Enter
qemu+tcp://username@host1.example.org/systemin the URI box - If authentication is required, check the Requires Authentication checkbox, and enter username/password
- Press the Load button
- In the box labeled Virtual Machines on Source, you should see all the VMs that are in ‘Down status’
- Select the VM
rhel1_localand click the right arrow -> to move it to the Virtual Machines to Import box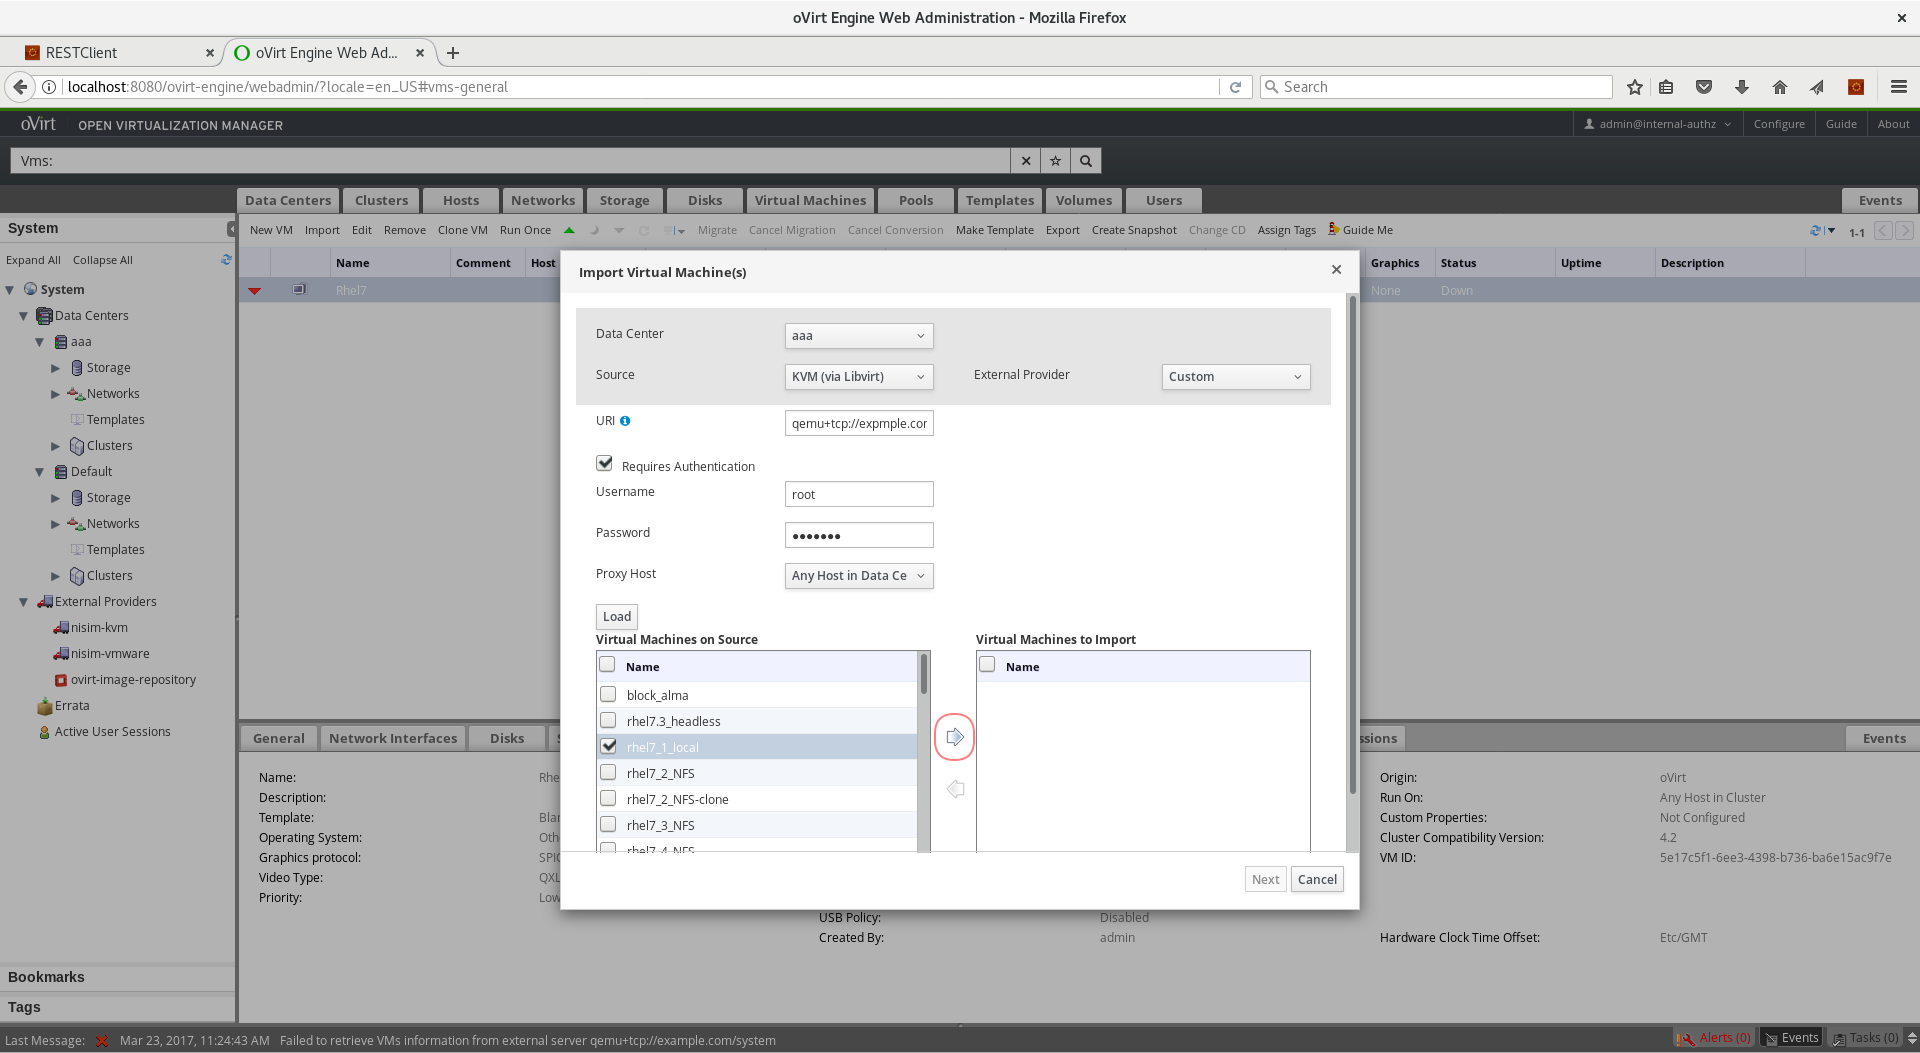
- Click, Next
- In this dialog you can adjust the VM properties such as operating system and allocation policy
- Press the OK button
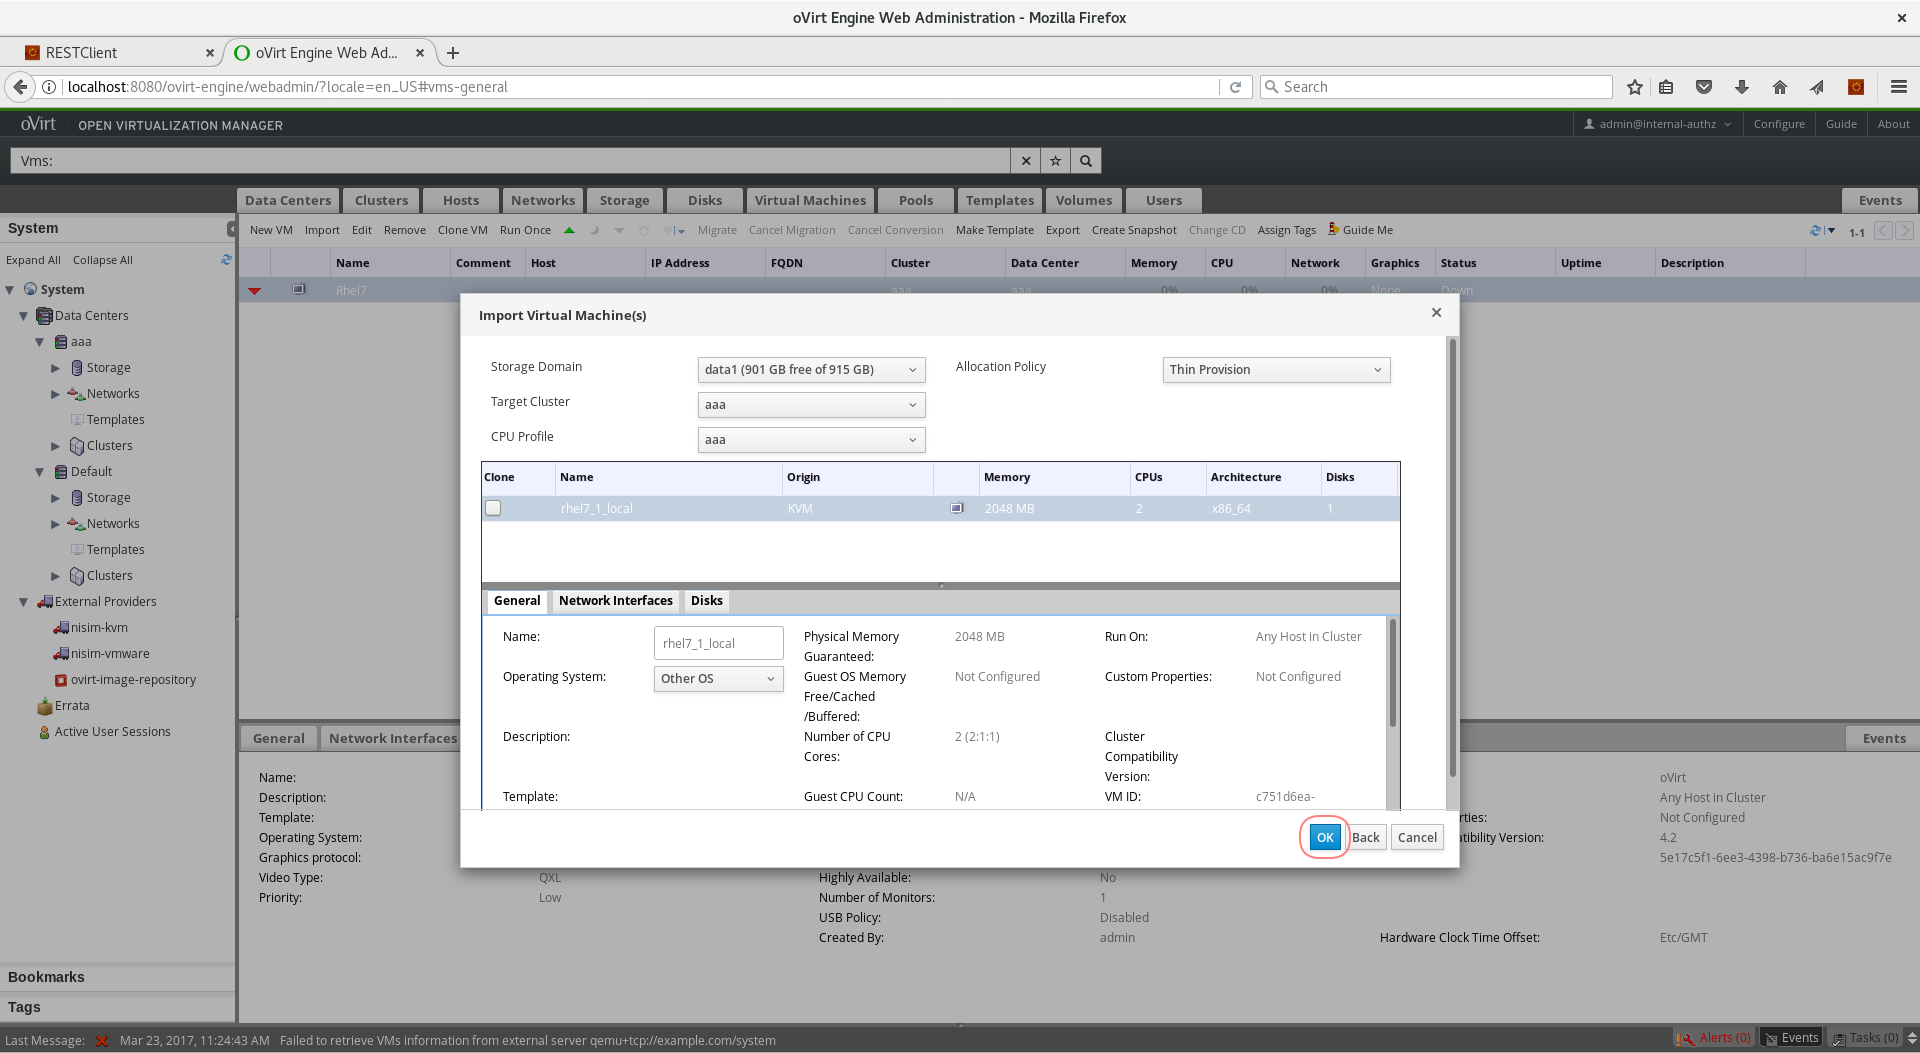
- You should see the
rhel1_localVM listed in the Virtual Machines tab, and the import process should start shortly